We've all been beginners at some point, and making mistakes is a natural part of learning something new. However, the key to progressing from beginner to expert is the ability to identify your mistakes and continuously correct them.
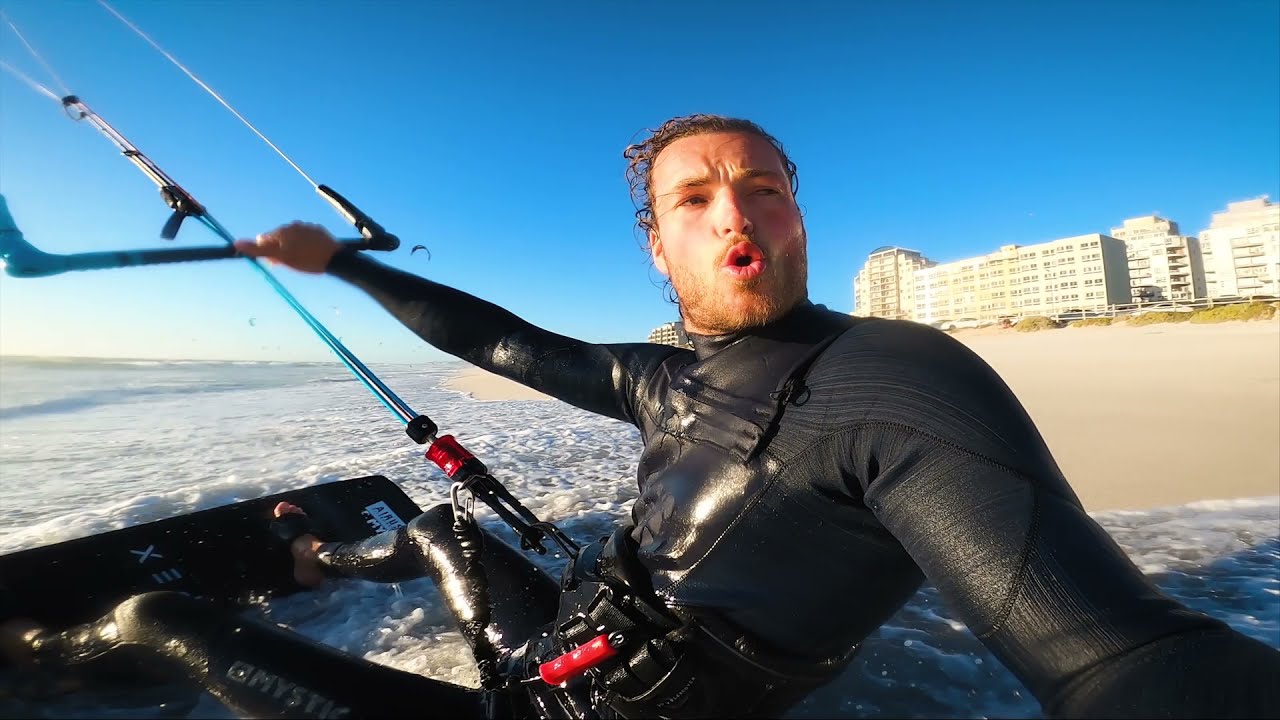
Let's kick things off with a picture tutorial featuring Gijs Wassenaar in Cape Town, the Big Air mecca in South Africa:
To make things a little easier for all of us, and to help you avoid long-term frustration and confusion, we've put together a short guide. It covers how to avoid or correct common mistakes you might make as a progressing Big Air rider.
Tip N° 1 - Work on your pop:
We often see new riders jumping simply because the kite lifts them. If you want to go higher someday, you need to learn how to achieve a good pop. That way, you won't rely solely on your kite's lift.
For a good pop, timing is crucial. Your kite should move as little as possible, and your edging should be intense and brief. Bear away, then make a nice curve with your board and edge until the end of the movement.
Tip N° 2 - Edge to avoid going under your kite:
Edging is the action of carving by digging the board's rail. You do this by energetically leaning your upper body upwind and putting all your body weight on your heels.
If you start your jump without enough edging, you will move forward instead of up. A great way to practice correcting this mistake is to do unhooked tricks with the kite low and jump over waves. This gives you a similar feeling to the pressure you need for a good Big Air pop.

The first ingredient for a successful jump launch is speed. Avoid initiating your jump upwind, as you won't go very fast at that pace. When edging, you position the board into the wind, which causes a loss of speed. Before the jump launch phase, position yourself at least crosswind. For greater efficiency, first make a slight bear away to gain speed. This extends the edging distance, so you quickly move upwind while losing minimal speed.
- I bear away, I sheet in
- I depower (but not too much) and edge
- I sheet in to get pulled out of the water
Tip N° 3 - Send the loop at the right time:
If you loop right after your take-off, the kite will give you enormous pull. This can be very difficult for a beginner in kite loop to control. The trick is to wait a bit after take-off, then pull your bar just before the highest point of your jump.
Also, start with small jumps to get familiar with the maneuver. It's important to go progressively.
Once you've improved and become more advanced, you can start looping earlier for more power!
Tip N° 4 - Lean towards the kite during the loop:
This will cause you to move forward, in combination with a loop. It will also prevent your kite from stalling and catching up to you. Make sure you are confident in the take-off before starting the loop.
Tip N° 5 - Adjusting your loop:
You need to know how to adjust the rotation speed of your loop depending on the situation.
The higher you go, the more you can allow yourself to perform a slow rotation and thus a large wingspan kite loop.
Initially, we will perform low jumps with a very fast kite rotation. Then we will increase the height and size of the loop progressively as we advance, gain technique, and build confidence.
Tip N° 6 - Avoid looping in light wind with a large kite:
We often see beginners trying to loop in too light wind with a large kite. But, the bigger the kite, the slower it loops. This can make things a bit tricky when you're not yet sure about your kite loop timing.
The ideal kite for learning to loop is a medium-sized kite that will turn quickly, between 8 and 10m in winds between 15 and 20 knots. This way, you don't get scared by taking on too much power.
Tip N° 7 - Accidentally looping the kite during a rotation:
To avoid this, start with low rotations based on your pop and not on your kite's pull (see error 1). Remember to keep your front hand near the center of the bar for the least steering possible during your rotation. You'll still be able to pull to steer the kite when you land.
Tip N° 8 - Not keeping the kite at the zenith:
Many riders jump, then try to keep the kite at 12 o'clock as they land. If you keep the kite at 12 o'clock during your descent, you'll have a catastrophic landing, especially if it's a truly high jump.
When the kite is at 12 o'clock, and you're moving further and further beneath it, it eventually ends up slightly behind you. This puts it outside the window where it can catch you.
To fix this, pull slightly on your front hand. The kite performs a downloop or heliloop. This allows it to continue moving forward and get back in front of you during your descent.
Tip #9: Take the Plunge
If you're serious about specializing in big air, don't hesitate to try short lines.
The kite will be much more reactive. Your technique and timing must already be spot on.
Tip #10: Be Confident and Commit Completely #COMMITTOTHELOOP
One of the biggest mistakes we see with big air beginners is when they start trying their first kite loops but then doubt themselves halfway through.
When you start doubting yourself mid-kite loop, you cause the kite to stop moving and crash hard. If you decide to try a kite loop, you must commit to finishing the loop. Trust your gear and your abilities. #CommitToTheLoop
One of the biggest mistakes we see with big air beginners is when they start trying their first kite loops but then doubt themselves halfway through.
When you
Bonus Tip: Send a Double Downloop to Protect Your Knees
Key Features
| Section | Key takeaway |
|---|---|
| Tip #1: Work on Your Pop | We often see new riders jumping simply because the kite lifts them. |
| Tip #2: Edge to Avoid Going Under Your Kite | Edging means carving by digging the board's rail. You do this by energetically leaning your upper body upwind and putting all your body weight on your… |
| Tip #3: Loop at the Right Time | If you loop right after your take-off, the kite will give you enormous pull. This is very difficult for a beginner kite looper to control. |
| Tip #4: Lean Towards the Kite During the Loop | This will move you forward in combination with a loop. Your kite will not stall or catch up to you. |
| Tip #5: Adjust Your Loop | You need to know how to adjust the rotation speed of your loop depending on the situation. The higher you go, the more you can allow for a slow rotation, and therefore a kite loop of… |
| Tip #6: Avoid Looping in Light Wind with a Large Kite | We often see beginners trying to loop in light wind with a large kite. |
| Tip #7: Accidentally Looping the Kite During a Rotation | To avoid this, start with low rotations based on your pop, not on your kite's traction (see error 1). |
| Tip #8: Do Not Keep the Kite at the Zenith | Many riders jump, then try to keep the kite at 12 o'clock when landing. |
Frequently Asked Questions
Tip N° 1 - Working on your pop: what to remember
We often see new riders jumping simply because the kite lifts them. If you want to go higher, you need to learn how to achieve a good pop. This way, you won't rely solely on your kite's lift.
Tip N° 2 - Edging to avoid going under your kite: what to remember
Edging means carving by digging the board's rail. You do this by energetically tilting your upper body upwind and putting all your body weight on your heels. If you start the jump without enough edging, you will move forward instead of going up.
Tip N° 3 - Sending the loop at the right time: what to remember
If you loop right after your take-off, the kite will give you enormous traction. This is very difficult for a kite loop beginner to control. The trick is to wait a bit after take-off, then pull your bar just before the highest point of your jump.
Tip N° 4 - Leaning towards the kite during the loop: what to remember
This technique will drive you forward, combined with a kite loop, and it will keep your kite from stalling and falling behind you. Make sure you're confident with your take-off before you start looping.
Tip N° 5 - Adjusting your loop: what to remember
You need to know how to adjust your kite loop's rotation speed to the situation. The higher you go, the more you can allow for a slow rotation and a large wingspan kite loop. When you're starting out, you'll do low jumps with a very fast kite rotation. Then, as you progress and gain technique and confidence, you'll gradually increase the height and size of your loops.
Tip N° 6 - Avoid looping a large kite in light wind: key takeaways
We often see beginners trying to loop a large kite in light wind. But the larger the kite, the slower it loops. This can make things tricky if you're not yet sure about your kite loop timing.
Got a question about the gear mentioned here?
The GlissEvolution team rides what they sell. They are available to answer your questions in person at the Pornichet store or by phone.